Installing the GitHub App
Install the GitHub App and grant access to the repository you want to automate releases.
Setting up the Optic release action
Create a GitHub workflow which uses the Optic action. The following snippet shows sample code for a simple setup.
name: release

on:
  workflow_dispatch:
    inputs:
      semver:
        description: 'The semver to use'
        required: true
  pull_request:
    types: [closed]

jobs:
  release:
    runs-on: ubuntu-latest
    permissions:
      contents: write
      issues: write
      pull-requests: write
    steps:
      - uses: nearform-actions/optic-release-automation-action@v4
        with:
          semver: ${{ github.event.inputs.semver }}
Creating a release
Run the action manually using workflow_dispatch as shown in the image:
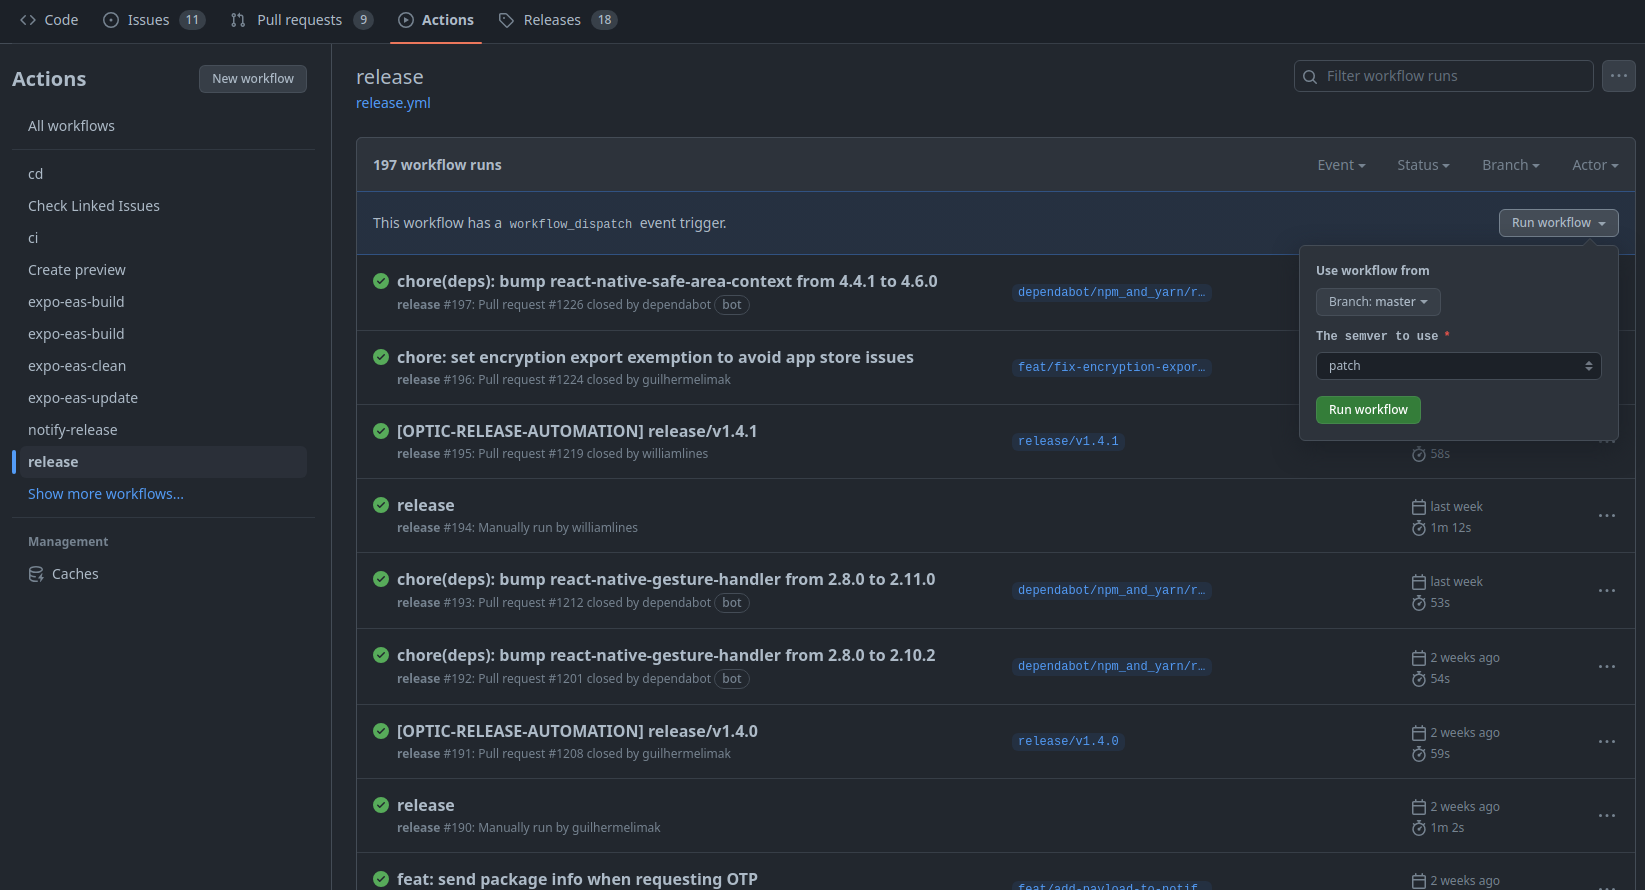
This will cause the following to happen:
- Repository source code is checked out
- Package version is bumped as per the semver input configuration
- Changes are committed and pushed to a new branch
- A pull request like the one below and a release draft are created with all the release details
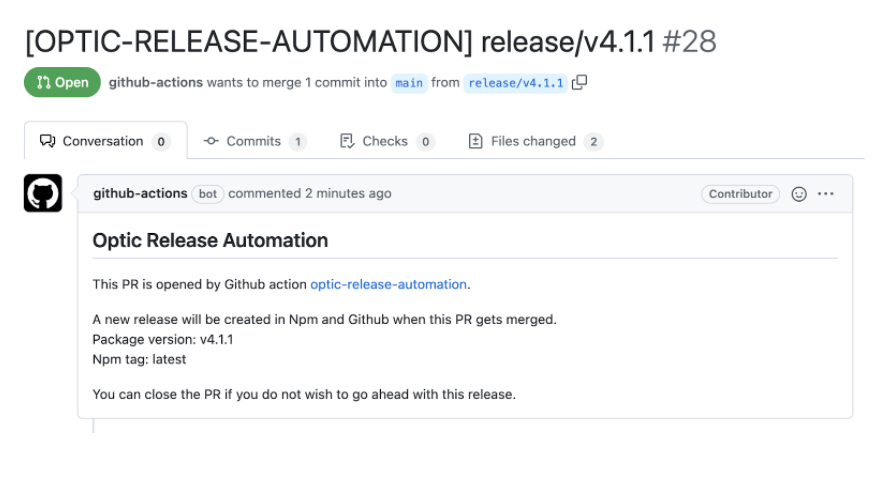
Publishing a release
Once a maintainer reviews the pull request and decides to merge it the github release will be published and a new npm version will also be published if applicable.
Using OTP in deploys
You can learn more about using 2FA when publishing releases with optic on the Mobile app docs.